Character Animation Week 11

Simulated work practice with second years was to help them with their graduate projects but also have a go at working for someone and putting the acquired skills to the test. The second year that I got paired with was a lovely partner to work with. Apart from me, she also had 2 other helpers. Her project heavily focuses on animal animation, which is truthfully speaking is my weakest skill. Therefore instead of putting myself up for a challenge, I went the safe way and offered skills that I’m most confident in which is character design. Thankfully my second year did have human character in her animation so she allowed me to do a character design for her.

In terms of concrete goals that we had with my second year, I found that it was necessary to highlight the mid way and final deadlines for my part of the job. This made my life a lot easier as I had a clear understanding of what to prioritise first. I made a few sketches of the silhouette with simple yet effective shapes, that we were taught in Character design class. The character I was working on was supposed to be an elderly cat lady. She was supposed to be a portrayal of a classic stereotypical grandma, but with a bit of a creepy aspect to her. Thus I made her round and soft, but her eyes are covered by glasses so we can’t see her eyes. Psychologically, when we humans are unable to establish an eye contact with others, we perceive them as creepy or mysterious. That was precisely the effect I was going after.

I proposed a variety of hairstyles, clothing elements and accessories so that my second year was able to choose and mix and mach elements that she thought were the best suited for the character and after getting a final approval from her, I moved to creating a turnaround sheet. My second year stated that because the character of grandma will only appear in a few final frames and mostly in close up shots, it is not necessary for character to be put in 3/4 and back view.

I did a simple black round outline, using round brush to create even, clean line art. It would be appropriate for the drawing to be stylistically influenced by television show character designs, with comically large head, and proportions, and for it to not be too artistic or sketchy. Because the design was very little detailed, I focused on bigger forms. My second year was very satisfied with the outcome.

Unfortunately, the time I was given on this project clashed with submission deadlines, so I was stuck with only limited amount of work I could do. To improve this character design I would’ve done a proper character sheet in colour, as well as assets sheet and full turnaround sheet in colour with back and 3/4 view. I felt like I succeeded in making an effective character design overall. The role that I was given on this project made me reconfirm my confidence in character design as something I enjoy doing and would like to potentially do in the industry. And I found working with my second year a very pleasant experience as she has been very clear with her instructions and very understanding when it came to our workload. She communicated in good detail the intentions of her character and that made it easier for me to construct visuals for it. I would definitely consider trying out new styles for character designs, going out of my comfort zone as I did with grandma’s, as someone who’s more confident in drawing more comic/manga styled characters.

Character Animation Week 10.

This exercise focused on adapting an audio file for lip sync and coming with an improvisation acting. The topic for audio files was “vines” which are very short comedic videos originated from Vine platform back in 2014. These videos are iconic and well known for their context. To give a selected audio file context, I drew a storyboard. The line that I chose was “Fuck off Janet, I’m not coming to your fucking baby shower” which adds up to 4 seconds in total. Initially the one was longer but Christina advised me to keep it short, and that gave me a lot more flexibility when it comes to context and action. But I focused a lot more on the lip sync in this exercise rather than action, and it was a lot better than working on a previous audio file that I filmed with a partner. Because the character didn’t move as much, I could better position the mouth and focus better on the shape. And the audio that was a lot more consistent and good paced helped a lot. This made me realise the importance of audio quality.

Character Animation Week 9.

Lip sync using video/audio reference. On this exercise I worked with a partner, and had to translate her voice into animation. Helpfully, we could record our partner and studio record their voice to overlay on top of the animation file. I experienced some struggle working with my partner, as she appeared to be very shy in front of the camera, and thus she instinctively spoke at a very fast pace (her native language is Chinese) . This caused a problem for a lip sync because I couldn’t fit so many mouth shapes in a small time frame. This exercise turned out to be a very messy business for me but eventually it sorta worked out.

Character Animation Week 8

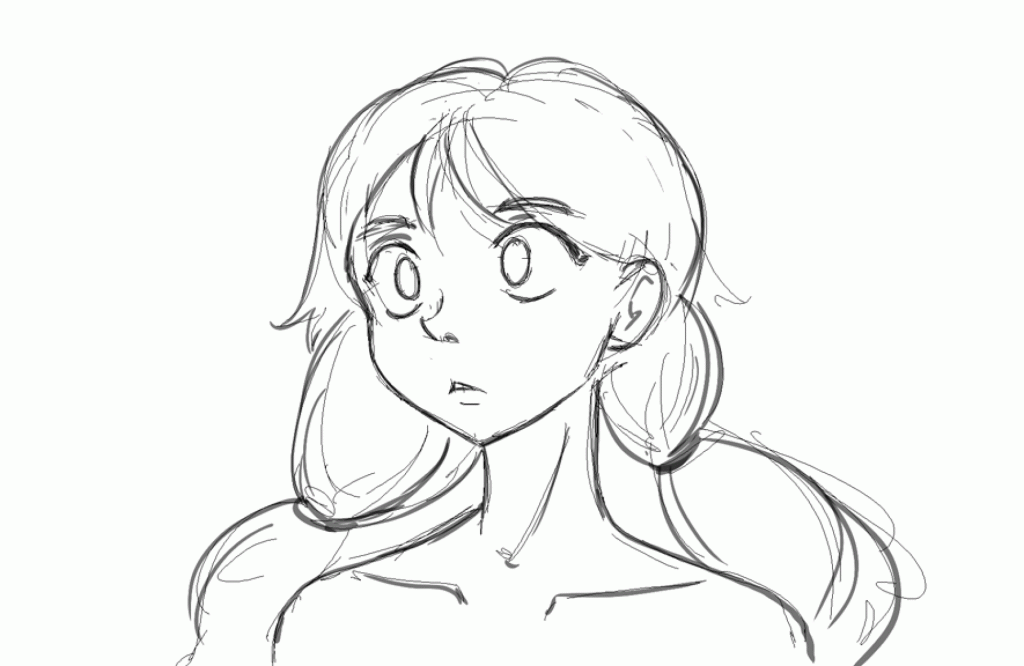
Face Acting. Next crucial animation principle was understanding emotion and how to translate it onto the face. once again, we were given a plain simple model, with no particular design characteristics so that nothing will distract us from focusing on the face itself. I chose one of the available stimuli, which is character reading the book and reacting to it.

First it was important to understand the spectre of emotions and what are the main emotions. Obviously, humans are a lot more complicated to be only showing one emotion, so we usually end to combine two or more. But knowing the basic expressions can help us mix and match positions of face features to show more complex emotions.

After this, I sketched out the keyframes of how the character would react to a book. I didn’t find this exercise too hard as I find it to be one of my strengths when it comes to portraying emotion in illustration. However I took it upon myself to switch from already familiar software like TV Paint, to Photoshop, to further my skills in it.

Character Animation Week 7

During week 7 of the course, we were being introduced to more basic principles of animation. Body acting exercise was the next challenge. The choice of models for animation were very limited, which in the beginning I thought was annoying, but as I progressed with exercise I realised that given models were built very geometrical and that made it a lot easier to execute the movement. I decided to choose the blockiest model consisting mostly of rectangular shapes, and in order to focus the body language better, I removed the face completely. Exaggerated silhouette proved to be a better tool to communicate the body acting.